How To Install Garden Fence Panels

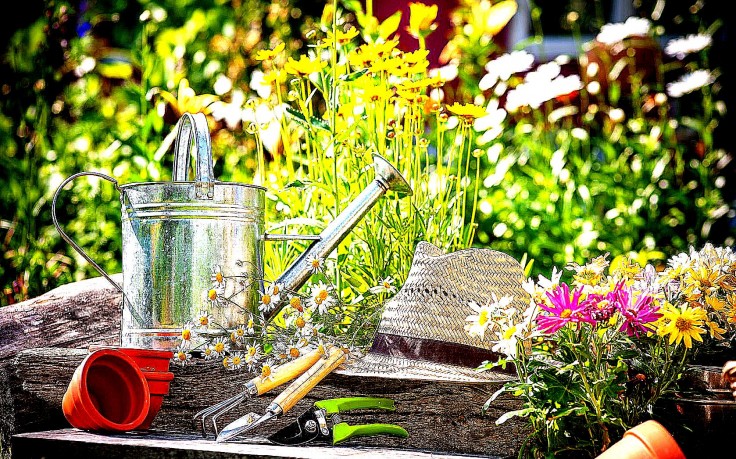
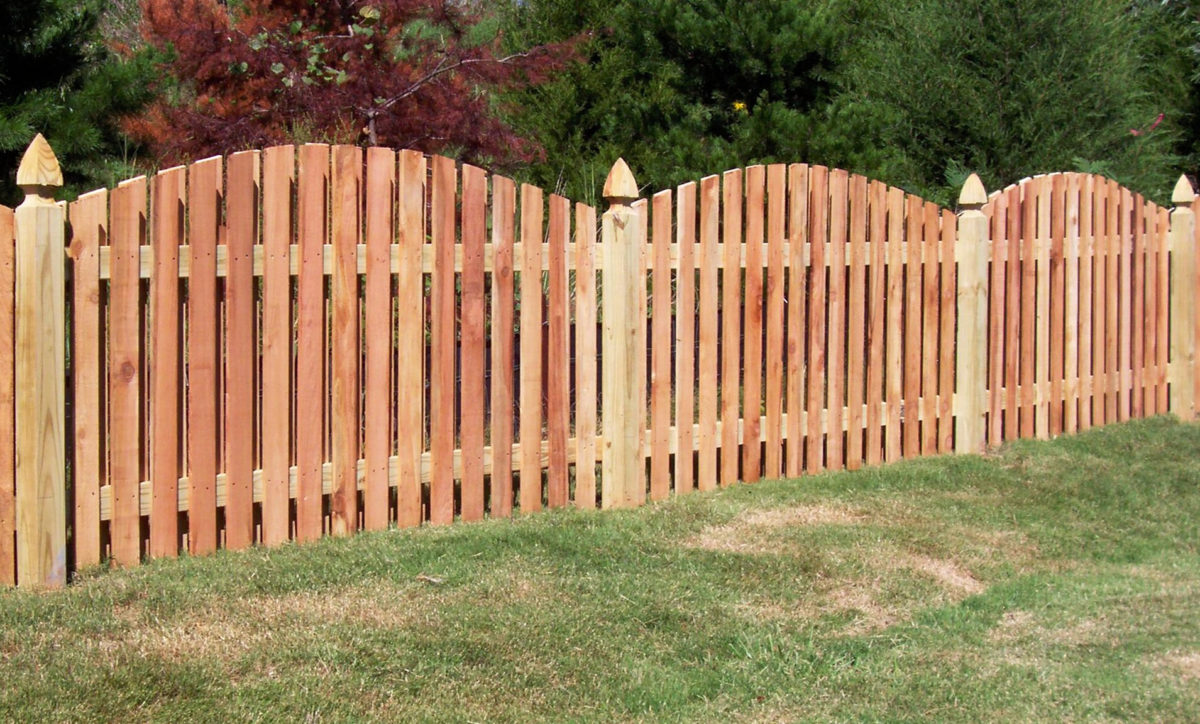
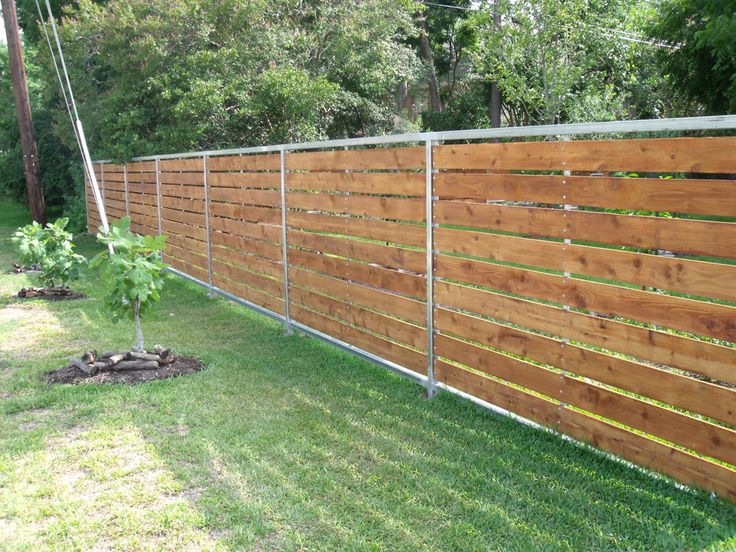
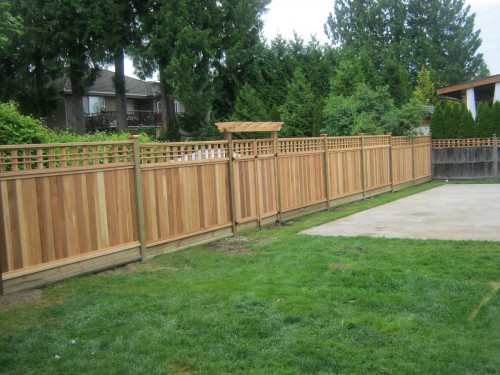
One may not want to seek the services of a contractor and want to install their garden fence panels themselves. You don’t have to go for training because I’ll provide you with important steps to make the process a possibility. Having clearly followed the instructions, you get to enjoy privacy that you require. Garden fence panels are easy to put up because they are prefabricated and you’ll need two people to undertake the process.  If you the fence is over concrete then you may need driveway company such as driveways Derby or driveways Nottingham todo the foundational work before starting.

  1. Gravel and Concrete -It will help in ensuring that the garden fence panels are fixed in their places.
  2. Fence posts.
  3. Nails, Shovels and 2-by-4 boards.
  4. Fence post Caps.
  5. Hammers, handsaws, levels, multiuse screws and variable-speed drills.

Steps to install your garden fence panels

1. I believe that you’ve taken your measurement very well thus you first need to dig up fence post holes. There’ll be a huge support for your garden fence panels, don’t put the post inside the holes first just leave them beside the holes.

Finish up digging up the holes you require then proceed to the next step…

2. Take the first post and set it in the hole carefully because you don’t want the soil to return to the hole. After standing your fence post, ask one of your colleagues to hold it firmly and straight. It’s important because I know you don’t want your garden fence panels to appear slanting.

3. Fill the space around the post with gravel and ensure that it’s well put. Do this for all posts and at the end of it, you should see the posts standing straight and giving you that blueprint how beautiful your garden fence panels will look like.

4. At this step, ask your colleague to take the prefabricated panel and panel it up against the fence post in place. While he or she is doing this, your task is to fasten it to the post with angle brackets at 24-inch intervals.

5. Do the step above very carefully or else you’ll view irregularity in your garden fence panels. After undertaking the process, nail a temporary strut to the fence post so that the panel can be upright.

6. Do this to all posts that you had put in holes and filled up with gravel.

7. Take your capping strips and fasten them on the tops of your garden fence panels. After finishing, take your handsaw and cut off each and every fence post 2 inches above the fence level.

8. Take your post caps and nail them to the cut places on your fence posts. At this step you’ll start getting the good picture of your garden fence panels.

9. After finishing the step above, you can now fill concrete on the set posts nicely. Full support will be given to your garden fence panels if the posts are intact. Now you are privileged to remove the struts you had put earlier and now you have your garden fence panels to serve you with purpose that you had required.

Preserving Herbs in a Home Herb Garden

Congratulations! You have a wonderful home herb garden filled with beautiful, thriving plants, and you have been picking leaves here and there for your culinary delight. Problem is, you have grown so many wonderful herbs out there that not using more seems such a waste. Is there a way to give out herbs to family and friends in nice packages, or even store them for winter use?

Yes, of course. Preserving herbs has been a common practice since ancient times, and the process is an art and science in and of itself.

The following is a step-by-step guide to show you exactly what you’ll need to do…

Harvesting

First of all, you will need to determine when and how much herbs to be harvested. As a general rule, do not pick more than one third of the foliage from each plant to ensure continual healthy growth of the herb itself. And there is one good tip for you: during the harvesting process, you are strongly encouraged to inspect the herbs for any signs of pests and damaged leaves; and if found, remove them promptly. Also, this is common sense, but don’t preserve infected leaves even if it is the largest, nicest looking leaf you have ever grown. Keeping and mixing it with the rest will ruin the entire harvest!  To avoid contamination it’s suggested that you look at bamboo fencing as an enclosure, this will give a more organic harvesting procedure.

In terms of timing, the grandmothers might have suggested to pick the leaves on the night of a full moon… Well, modern-day studies have shown that harvesting the leaves early in the morning – right after the dew has dried up by the morning sun — is the perfect time because the essential oil found in the leaves is the most concentrated at this hour. During the day, the heat from the sun as well as occasional wind will disperse much of this oil, the source of the wonderful flavor and herbal power. If you need to convince yourself, try picking a leaf at different time of the day and smell it. You will find that the flavour is the strongest in the morning!

Now, which season is the best for harvesting your home herb garden? For most herbs this will be the time when the flower is about to blossom, because the leaves are fully packed with essential oil at this stage of the plant’s life cycle.

Cleaning

Rinse the harvested fresh leaves in cool water. An efficient way to remove bugs and pests is to add a bit of salt (roughly 2 tbsp) to a basin of water, and throw in the herbs to soak. A gentle reminder on the soaking: it’s better to soak only briefly to minimize the loss of essential oil and minerals in the leaves. After washing, dry the leaves with a salad spinner, or simply by patting with a piece clean cloth.

Drying

Harvest a few stems, about 6-12 branches, with leaves at the bottom of the stems removed. This bundle is then tied up with a string and hanged up-side-down in a cool, airy location. Although you may be tempted to dry it out under the sun, it is much preferred to dry it away from direct sunlight. Alternatively, the herbs can be dried as individual leaves. Clean the leaves and put them on a screen or rack to dry. Please remember to turn them often for proper and complete drying. If the weather is humid, you might want to speed up the process by using appliances such as a dehydrator, an oven or a microwave (but there are drawbacks – can take my free email course to find out). The faster the drying process, the more the essential oil can be sealed in the leaves.

Freezing

This is another great idea for using herbs from your home herb garden. Place the leaves in baking sheet lined with wax paper. If the leaves are too large, you can cut them into roughly 1/4 inches long, but cutting should be minimized to avoid, again, the dispersement of essential oil. Then, put them to bed in a zip-lock in the freezer. It’s that easy!

Preservation in Medium

Preserving herbs can also be done using salt, vinegar and oil as well! The making of flavoured salt is simple and fun, and a fantastic parent-child activity! You can start by adding a layer of herbal leaves and pour in salt. Then, alternate the layering until the container is filled. After a while, you can remove the dried, brown leaves and keep the flavoured salt in an air-tight container. They add amazing flavour to congee, noodles and other staple food. For preserving herbs in vinegar, simply chop the herbs and put into vinegar (the chopping should only be done immediately before the preservation). The picked herbs can stay good for several months.

I hope you have enjoyed reading through the various method of preserving herbs, as well as how to harvest the plants in their best condition from your home herb garden…